
Ever pulled on a pair of socks only to feel your circulation come to a halt? Whether it’s a stubborn pair fresh from the washer or brand new socks that came a little too snug, tight socks can be frustrating. Luckily, there’s an easy fix that doesn’t involve tossing them in the donation pile introducing the boiling water stretch socks method. It’s a quick, effective way to loosen socks and get them fitting just right!
Step by Step Guide: How to Stretch Socks with Boiling Water
- Prepare your materials: Grab the tight socks, a pot of water, and tongs or gloves for handling.
- Boil water: Heat water to a boil on your stovetop. Make sure to use enough water to fully submerge the socks.
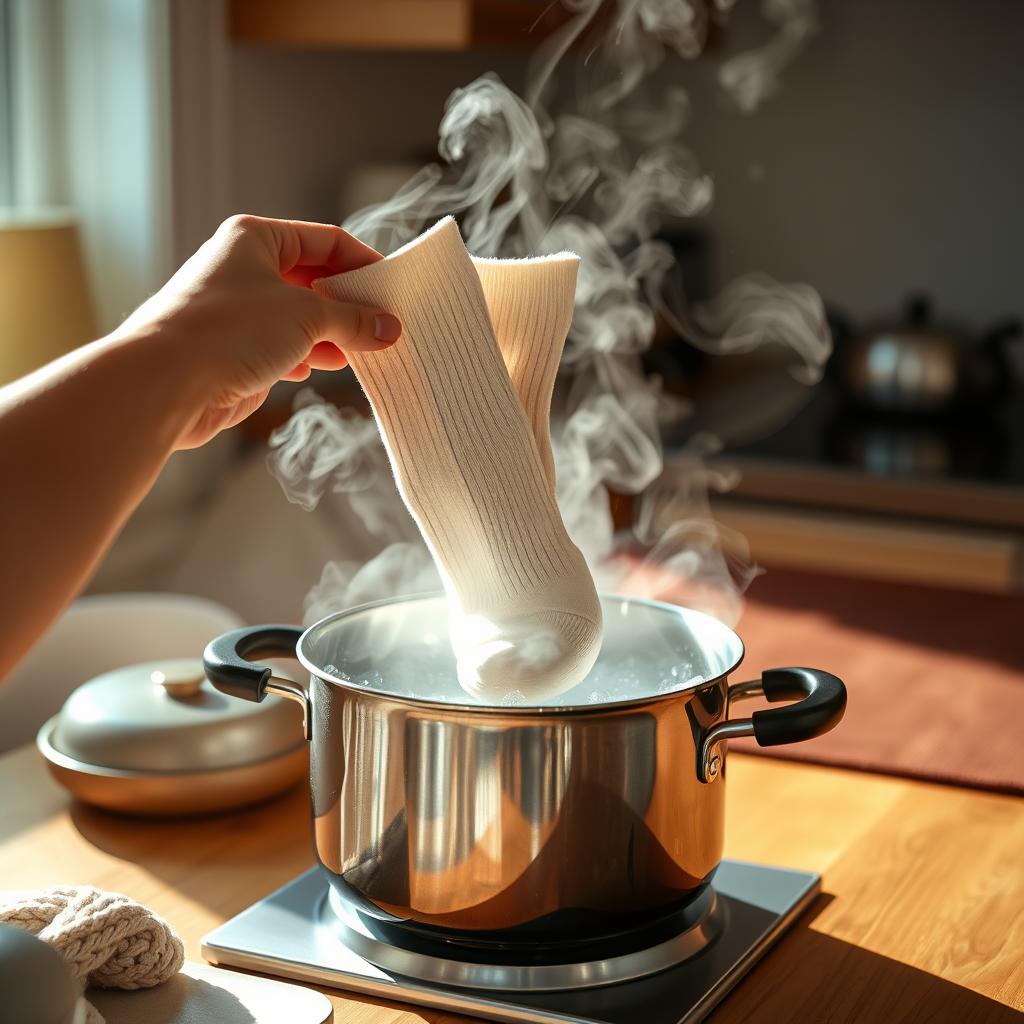
- Soak the socks: Place your socks in the boiling water for 3 to 5 minutes. This will loosen the fibers, letting them stretch more easily.
- Stretch and shape: Use thick gloves or tongs to carefully remove the socks. Gently stretch them to your desired size while they’re still warm (but not too hot to handle).
- Cool and test: Let the socks cool down completely. Try them on and admire your perfectly adjusted fit!
Safety First: Keep It Simple
When using the boiling water method, always prioritize safety. Avoid handling boiling hot water or socks directly with your hands use appropriate tools instead. And don’t over soak; some materials, like wool or delicate blends, require extra care to avoid damage.
This straightforward method is a lifesaver for anyone dealing with tight socks post wash or after a new purchase. Give your socks a second chance to shine without losing comfort!
Why Use Boiling Water to Stretch Socks?
Have you ever bought a pair of socks that felt perfect at first, only to discover later they’re a bit too snug? You’re certainly not alone. Luckily, there’s a simple, fast, and cost effective solution: using boiling water to stretch socks. This unconventional yet practical method works wonders when done correctly, especially for certain materials like cotton and wool, which respond well to heat.
So, why does boiling water work? It comes down to the science of fabric fibers. Heat causes fibers to loosen and become more pliable, allowing the material to stretch and reshape to a more comfortable fit. It’s almost like giving your socks a much needed spa day! What’s even better is that this method doesn’t require any special tools or expensive products you probably have everything you need in your kitchen right now.
The Benefits of Boiling Water Stretching
- Quick Results: No need to wait for specialized stretching sprays to dry or break out complicated gadgets. Soaking your socks in boiling water offers near instant flexibility.
- Cost Effective: Forget about buying new socks or pricey tools this method is budget friendly and accessible to everyone.
- Material Specific Success: Works especially well with natural fabrics like cotton and wool, which are known to react positively to heat.
- No Special Skills Required: This DIY trick is easy to master, even if you’re not particularly handy.
If you’re wondering which materials benefit the most from this approach, cotton socks are arguably the best candidates. Their fibers expand significantly with heat, making them an ideal option for this process. Wool socks follow closely, as they can stretch while retaining their overall quality. Synthetic blends may require more caution since they have a lower heat tolerance.
Keep in mind that technique matters. Don’t just toss your socks into boiling water and hope for the best. Carefully immerse them, monitor the fabric’s response, and test the fit afterward. With boiling water, you’re equipped to fix those tight socks without breaking a sweat or the bank!
Materials You’ll Need for Boiling Water Stretch Socks
Before you get started, it’s essential to have the right tools handy to ensure a safe and effective stretching process. Don’t worry you likely already have most of these items at home! Here’s what you’ll need:
- Pot: Use one large enough to fully submerge your socks.
- Boiling Water: Carefully heat water until it reaches a rolling boil.
- Socks: Opt for the pair you want to stretch material like cotton or wool works best.
- Tongs: Essential for safely handling hot socks during the process.
- Towel: A clean towel to dry and reshape your stretched socks.
- Gloves (optional): Protect your hands from heat if you need to adjust the socks while they’re hot.
Safety Reminder: Always handle boiling water with caution to avoid burns or injuries. Use tongs and gloves to keep your hands safe, and ensure there’s no risk of spilling hot water in your workspace. If kids are nearby, keep them at a safe distance.
Now that you’ve gathered your materials, you’re set to start fixing those tight socks. Ready? Let’s move on to the next steps!
Step by Step Guide to Boiling Water Stretch Socks
Struggling with socks that feel just a tad too tight? You’re not alone. Whether they’ve shrunk in the wash or simply weren’t the perfect fit to begin with, there’s a simple solution: boiling water! Done correctly, this technique can save your favorite pair of socks while improving comfort and wearability. Let’s dive into the step by step process to stretch your socks using hot water effectively.

- Boil Water: Start by boiling a pot of water. You don’t need a massive amount just enough to fully submerge the socks you plan to stretch. Once the water reaches a rolling boil, carefully transfer it to a heat safe container if necessary.
- Soak Socks Carefully: Place your socks into the hot water, ensuring they’re entirely submerged. Be cautious! Use tongs or gloves so you don’t burn your hands in the process.
- Let Them Sit for 5–10 Minutes: Allow the socks to soak in the boiling water for 5 to 10 minutes. During this time, the fibers will begin to relax, making them easier to stretch.
- Stretch While Warm: Once you’ve removed the socks from the hot water, stretch them while they’re still warm. You can do this by wearing them (if tolerable) or manually pulling them with your hands. Stretch them gently but firmly to achieve the desired fit.
- Air Dry for Lasting Shape: Finally, let your socks air dry completely. Laying them flat on a drying rack or hanging them up ensures that the fibers retain their new stretched shape, providing a more comfortable and lasting fit.
Curious about how different fabrics respond to this method or what the best practices are for specific sock materials? Take a look at the table below for insights:
| Fabric Type | Stretching Effectiveness | Best Practices |
|---|---|---|
| Merino Wool | High | Avoid excessively hot water to prevent damage; air dry carefully. |
| Cotton Blend | Moderate | Ideal for boiling water stretching; handle gently while warm. |
| Synthetic Materials (e.g., Polyester) | Low | Requires additional effort; may shrink back when dried. |
| Compression Socks | Minimal | Not recommended for boiling water stretching; use alternative methods. |
By following these steps and tailoring them to your sock’s material, you can breathe new life into tight pairs and ensure maximum comfort. So, ready to give it a try? Your socks deserve it!
Extra Tips for Best Results
If you’re trying to stretch tight socks using the boiling water method, remember that small adjustments can make a big difference. Whether you’re working with thicker socks or delicate synthetic fabrics, a few extra steps can help you achieve the perfect fit without damaging your materials.
1. Be Cautious with Synthetic Materials
Did you know synthetic fibers like polyester and spandex react differently to heat compared to natural ones like cotton or wool? Avoid prolonged exposure to boiling water, as excessive heat can weaken these fibers, causing them to fray or lose elasticity. Focus on short intervals of soaking instead think 2 to 3 minutes at a time and always test the material as you go.
2. Repeat the Process for Thicker Socks
Thicker socks, especially those made from wool or blends, might not fully stretch on the first attempt. If the fit isn’t quite right, don’t hesitate to repeat the process. After soaking the socks, try using your hands to gently pull and shape them. Repeat as needed until they mold perfectly to your feet.
3. Try Wearing Your Socks Damp
For an added level of customization, you can wear the socks while they’re still damp. This method leverages the flexibility of the material while it cools and dries, letting the socks conform naturally to your unique foot shape. To avoid discomfort, make sure they’re only slightly damp not dripping wet.
Using these strategies ensures you get a tailored fit without compromising the integrity of your socks. Whether you’re troubleshooting tight materials or fine tuning your wool favorites, these tips will help you wear your socks with confidence.
How Boiling Water Can Stretch Your Tight Socks
Ever found yourself wrestling with a pair of socks that feel just a tad too snug? Instead of tossing them into the “never wear again” pile, why not try a simple, budget friendly solution: boiling water stretch socks? It’s a quick fix that can save you from going out to buy new pairs.
Here’s how it works:
- Boil a pot of water and carefully submerge the tight socks for about 5–10 minutes.
- Remove the socks using tongs or heat proof gloves and let them cool just enough to handle safely.
- While the socks are still warm, gently stretch them out with your hands or wear them over a thick layer of other socks to shape them to your size.
The beauty of this method lies in its versatility. Whether your socks are made of wool or synthetic blends, the heat allows the fibers to loosen, creating a more comfortable fit tailored to your needs. Plus, it’s a great way to revive older pairs that have shrunk over time!
Before spending money on replacements, give this technique a try and don’t forget to share your results! Have you used this method before? Let us know in the comments below!